
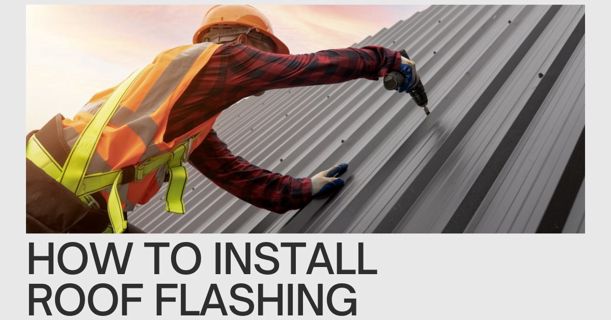
Roof flashing is a critical component that helps prevent water from seeping into your home through joints, valleys, chimneys, skylights, and other roof structures. Proper installation is essential for protecting your roof from leaks and extending its lifespan. In this guide, we'll walk you through the process of installing roof flashing to ensure a watertight seal.
What You’ll Need:
Flashing material (galvanized steel, aluminum, or copper)
Roofing nails or screws
Hammer or drill
Measuring tape
Utility knife
Roofing cement or sealant
Pry bar (if working with existing shingles)
Roofing felt (optional)
Caulk gun
Tin snips
Types of Roof Flashing:
Before starting, ensure you’re using the correct type of flashing for the application:
Step Flashing: Used where the roof meets a wall.
Drip Edge Flashing: Installed along the roof's edge to guide water away.
Valley Flashing: Used where two roof slopes meet to form a valley.
Chimney Flashing: Used around chimneys to direct water away from the chimney structure.
Vent Pipe Flashing: Installed around vent pipes.
Step-by-Step Installation Guide
1. Prepare the Area
Inspect the Roof: Check the area where the flashing will be installed for any damage or issues. Ensure the roof surface is clean and dry.
Remove Old Flashing (if necessary): Use a pry bar to remove any old or damaged flashing and shingles if you're working on an existing roof. Be careful not to damage the surrounding roofing material.
2. Measure and Cut the Flashing
Measure the length of the area where the flashing will be installed. For example, if you are installing step flashing, measure along the base of the wall.
Use tin snips to cut the flashing material to the appropriate size. When cutting, ensure the pieces overlap by at least 2 inches to prevent water from seeping through any gaps.
3. Install the Flashing
For Step Flashing (Where Roof Meets Wall):
Install Roofing Felt (Optional): Lay a strip of roofing felt along the edge where the roof meets the wall for an extra layer of protection.
Place Flashing Pieces: Begin at the bottom of the roof and place the first piece of flashing over the roofing felt. Each piece should bend at a 90-degree angle, with one side extending over the roof and the other side against the wall.
Nail the Flashing: Nail the flashing to the roof deck, but avoid nailing into the vertical part that touches the wall. The shingles will hold the flashing in place.
Install Shingles Over Flashing: Install a row of shingles over the flashing, leaving enough room to overlap the next piece of flashing. Continue up the roof, alternating between flashing and shingles as you go.
For Drip Edge Flashing:
Install Underlayment: Make sure the roofing underlayment extends over the roof's edge before installing the drip edge.
Position the Drip Edge: Start at the bottom of the roof and place the drip edge along the eaves. It should extend slightly over the edge to guide water away from the fascia.
Nail the Drip Edge: Use roofing nails to secure the drip edge to the roof deck, spacing them about 12 inches apart.
For Chimney Flashing:
Install Base Flashing: Begin by installing the base flashing at the bottom of the chimney. The bottom of the flashing should sit under the shingles, and the top should extend up the side of the chimney.
Install Step Flashing: Continue installing step flashing up the sides of the chimney, alternating between flashing pieces and shingles.
Install Counter Flashing: Once the step flashing is in place, install counter flashing over the top of the step flashing. Use roofing cement to seal the top edge where it meets the chimney.
For Valley Flashing:
Lay the Flashing: Position the valley flashing along the valley of the roof, ensuring it runs the entire length.
Secure the Flashing: Nail the flashing to the roof deck, ensuring the nails are positioned on the outer edges of the flashing, away from the center where water will flow.
Overlap Sections: If you need to use multiple pieces of flashing, make sure they overlap by at least 6 inches to ensure proper water flow.
4. Seal and Secure the Flashing
Apply Roofing Cement or Sealant: After securing the flashing in place, use roofing cement or a high-quality sealant to seal the edges where the flashing meets the roof, wall, or chimney. Pay special attention to areas where the flashing pieces overlap.
Inspect for Gaps: Check for any gaps between the flashing and the roofing material. If necessary, apply additional roofing cement to ensure a watertight seal.
5. Final Inspection
Once the flashing is installed, inspect your work. Ensure the flashing is securely fastened, properly overlapped, and sealed. Look for any exposed nails or potential entry points for water.
Tips for Installing Roof Flashing
Overlap Flashing: Always overlap flashing pieces to prevent water from getting between them.
Check Building Codes: Some regions have specific building codes regarding flashing installation, so check local regulations before starting.
Use High-Quality Materials: Investing in durable materials like galvanized steel or copper can prolong the life of your flashing and reduce future maintenance needs.
Consider Hiring a Professional: If you're unsure about any aspect of roof flashings installation, it's always best to consult with a roofing professional to avoid costly mistakes.
Conclusion
Installing roof flashing is a critical step in protecting your home from water damage. By following these steps carefully and ensuring proper overlap, sealing, and secure installation, you'll create a strong barrier against the elements, prolonging the life of your roof.
For more information visit Ducting Supplies
Follow Ducting Supplies to stay updated on their latest posts!
0 comments
Be the first to comment!
This post is waiting for your feedback.
Share your thoughts and join the conversation.